
Ideas for further learning:
How does this help my children’s learning?
How can I use this with my children?
Parent Guide
Create a beautiful sun catcher together
with your child and encourage them to
hold them to the light.
This craft activity can help to develop
your child’s sense of creativity, as
well as spark discussions about light,
transparent materials and crafting tools
safety.
Why not encourage your child to lay the
pieces of tissue paper in patterns or
pictures? They could even create their
own window templates from paper.

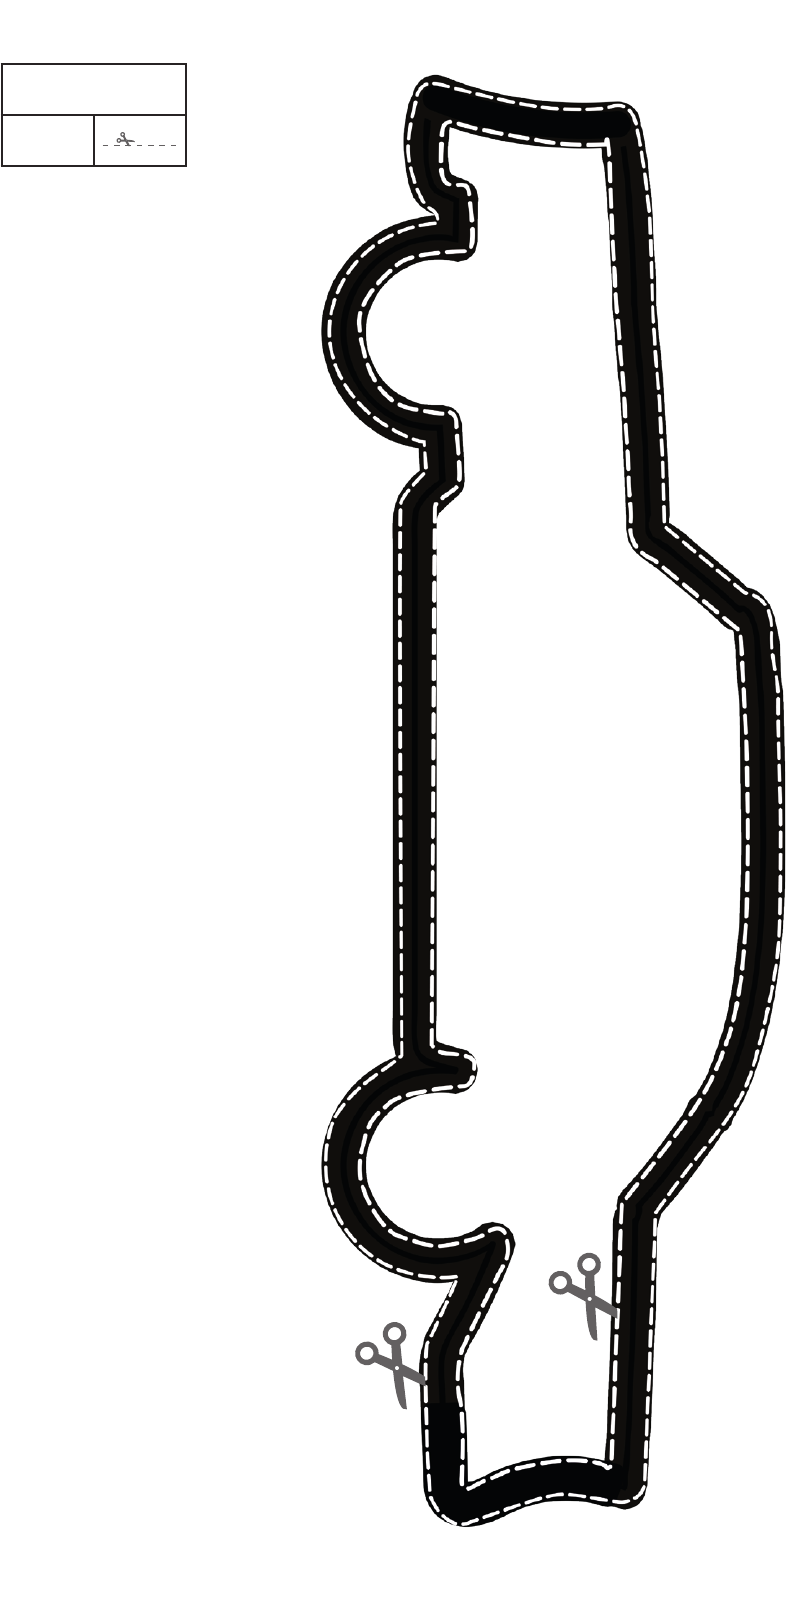
Sun Catcher Craft Instructions
You will need:
• Sun Catcher Window Templates
• scissors
• coloured tissue paper
• laminating pouches or sticky back plastic
• a laminator (optional, depending on which method . .....
....you decide to use)
• hole puncher (optional)
• string or wool (optional)
• sticky tack (optional)
Instructions:
1. Print and cut out your chosen Sun Catcher Window Templates. For one sun catcher, you will need
two identical Window Templates.
2. Cut up small pieces of tissue paper in a variety of colours.
3. Depending on whether you’re using a laminator or sticky back plastic, do one of the following:
• For the laminator method, open up a laminator pouch and place one Window Template
inside. Place pieces of tissue paper onto the Template. When you’re happy with your
design, place the second Window Template on top to cover the edges, close the
laminating pouch, and pass through the laminator to seal shut.
• For the sticky back plastic method, cut a piece of sticky back
plastic large enough to cover your Window Template twice and
peel off one half of the backing. Place one Window Template
on the exposed side and place pieces of tissue paper onto it.
Once you’re happy with your design, place the second Window
Template on top to cover the edges. Peel off the rest of the
backing from the sticky back plastic and fold over to cover the
whole sun catcher.
4. Cut out the sun catcher.
5. If you wish to hang your sun catcher, you can punch
a hole in the top and loop a piece of string or wool
through. You could also use sticky tack to attach
your sun catcher to a window.
6. Wait for the sun to shine through and enjoy
your beautiful sun catchers!
visit twinkl.com


If you enjoyed this resource, why not try...
If you need us, just get in touch -
contact twinklcares@twinkl.co.uk
visit twinkl.com/parents
Explore and Discover More
Free Parent Mixed Ages Taster Resource Pack
Tricky and Common Exception Words Worksheets
Free Times Tables Fact Fluency Practice Pack to 12
Free EYFS/Reception Twinkl Handwriting Taster Pack
Free Parents’ Taster Pack For children Aged 7 - 11
Number Formation Tracing Strips 0-20
KS1 Addition and Subtraction Maths Activity Sheets
Free Parents’ Taster Pack for Children (Birth to 5 Years)
Free Parents’ Taster Pack for Children Aged 5-7
Dinosaur Addition within 10 Activity Sheet
The Very Hungry Caterpillar Pencil Control Activity
