
Using Pivot Tables and Using Simple Functions to
Analyze Salary Data
There was a time when Ontario was one of the few jurisdictions to
provide public access to the salaries of public-sector employees earning
more than $100,000 a year. We can debate whether that constitutes an
exorbitant wage in expensive markets such as Vancouver and Toronto,
especially when you factor in other variables such as inflation. Still, this
disclosure is welcome. An increasing number of jurisdictions are
following Ontario’s lead.
In Canada’s largest province, the list is released at the end of each fiscal
year (March) and typically leads to stories about the highest paid
employee.
Getting this data into a spreadsheet allows us to become more
ambitious, which is what we will do in this tutorial.
What you will learn in this tutorial
Download three years worth of data.
Reformat 2019 data using paste special.
Merge tables in the master file.
Use concatenate function to combine last and first names.
Create new columns that calculate total salary and taxable benefits as
percent of total salary.
Create pivot table that compares institutions with the highest number
employees on the list and how the totals compare year-to-year.
Use paste special to create a table for calculating percent difference.

Downloading data
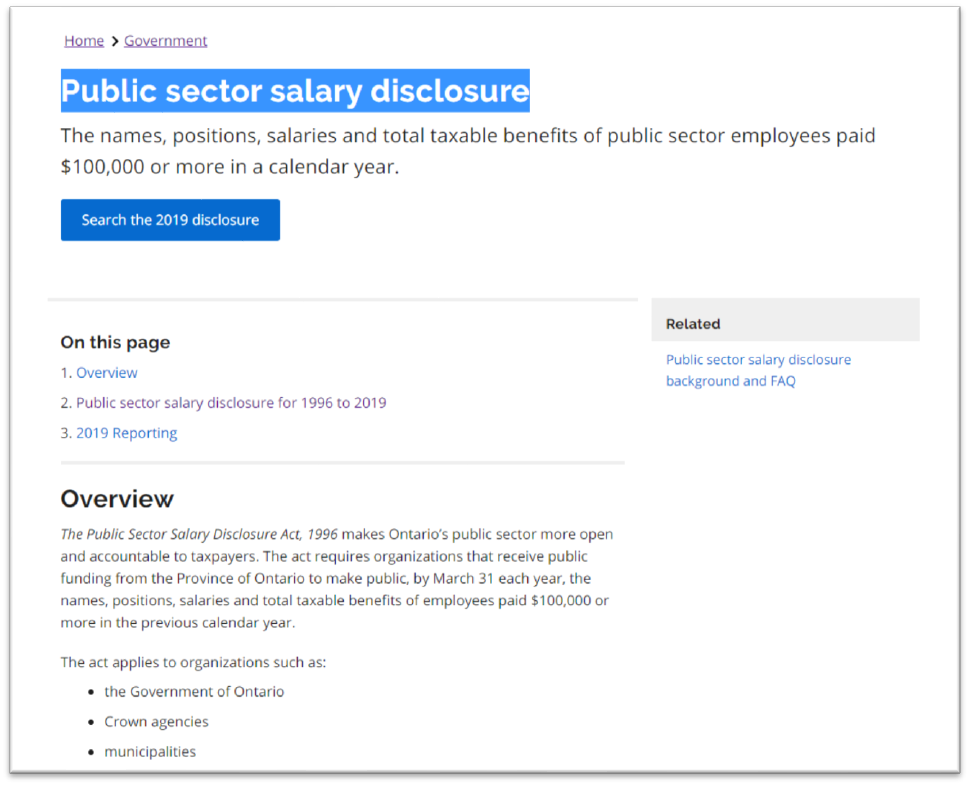
Go to the Ontario’s Public sector salary disclosure site. Take a few
minutes to examine the contents. As we discussed in the first tutorial
involving the Global COVID-19 data, it’s always advisable to study what
you are about to download.
The explanation begins with the “Overview”.
Among other things, you’ll notice that the disclosure tables go all the
way back to 1996, ideal for ambitious folks who want to take a deeper
dive to, for instance, judge the progress Ontario’s public sector has

made in hiring and promoting more women to executive positions. The
archive also makes it possible track hiring at universities, colleges,
school boards, hospitals and municipalities.
Let’s begin by downloading the 2019 data.
Select the blue “Search the 2019 disclosure” tab you can see in the
screen grab above.
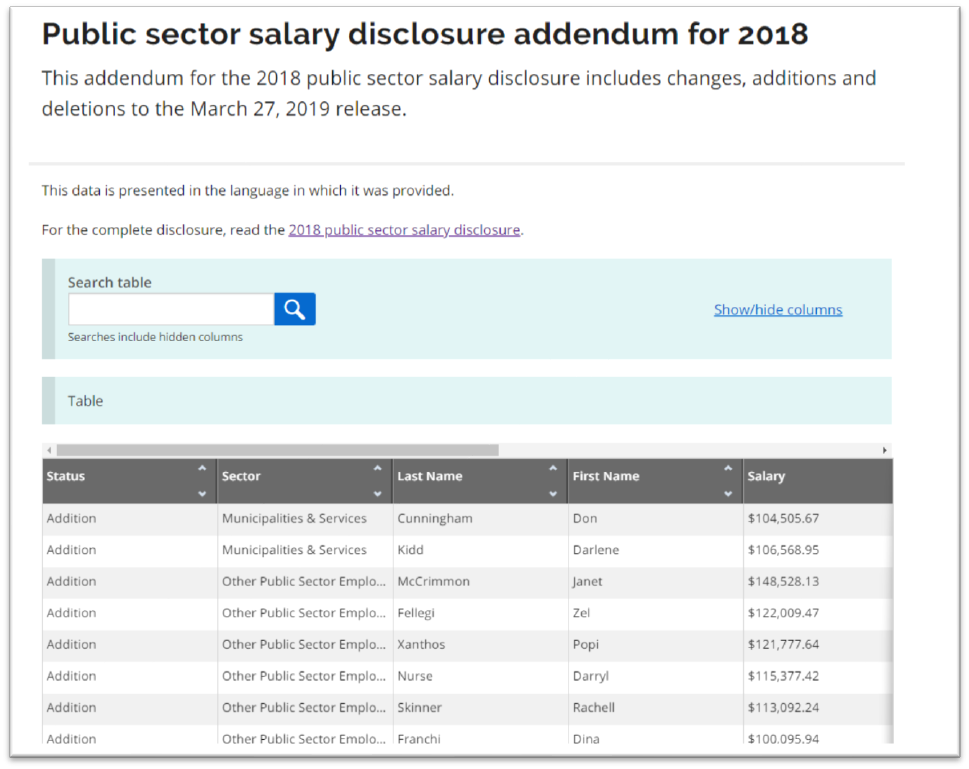
Next, you’ll see a preview page with three formats available for
download.

The preview table allows you to see what you’re about to download, as
well as conduct an online search for a specific name. While online
searches are useful, downloading the entire dataset is usually a better
way to go.
Under the “Download data” section, you’ll notice three datatypes:
Spreadsheets; CSV (comma separated value); and JSON (a file format
that stands for J ava Script O bject Notation.)
Download the spreadsheet version.
Save it in the folder you have created for this exercise.
Before downloading files for the previous two years, open the 2019
table.
This table contains some formatting that we will want to get rid of using
the paste-special option we learned in the second tutorial.
Select and copy the entire table.
Open a new worksheet.

Use the paste special.

Adjust the column widths and scroll to the bottom to make sure you
have all the data.
Return to the salary discosure website, and to the main page that we
saw on page two of the tutorial.

Scroll down to the disclosure tables (“all sectors and seconded
employees”).
You’ll also notice that for 2018 and the previous years, there’s an
option to download a table that contains “changes, additions and
deletions to the initial publication.”
Typically, we would have to use the information in this table to update
the material in the main table. If we were building a master table
beyond this tutorial, that’s exactly what we’d have to do. To save time,
we will skip this crucial verification step. It was worth noting before
going any further.
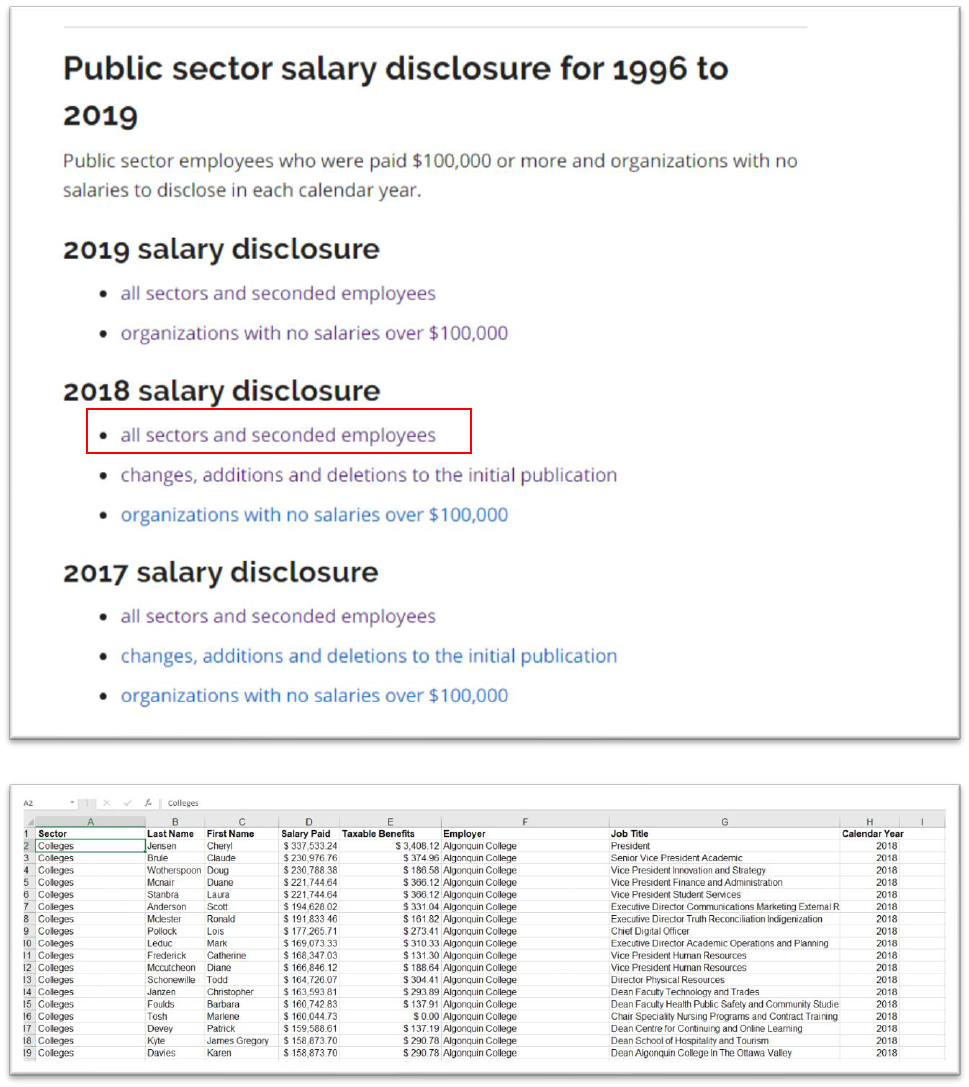
Download the 2018 data.
Thankfully, this table is in a more conventional format, as are all the
tables for the previous years.

Close this file and repeat the same process for 2017.
Merge tables in master file
Now we have three years’ worth of data, we can create a master file.
This is possible because the table for each year contains the identical
structure: identical column names in the same order.
The columns are Sector: Last Name; First Name; Salary Paid; Taxable
Benefits; Employer; Job Title.

If the tables were dissimilar, merging them to create a master file
would be impossible without additional work.
Keep all three tables open.
Open a fourth Excel file and call it something like
“MasterSalaries_2017-2019.”

Copy and paste the 2019 file into the worksheet of the fourth, newly
named Excel file.
Be sure to readjust the column widths either manually with your cursor,
or selecting column in question, right-clicking to obtain your short-cut
menu and readjusting the width to a more manageable length of 30 to
50 characters.


Scroll to the bottom to ensure you have all the data.

Return to the 2018 table, copy that table – minus the column titles
because we already have them – and place your cursor on cell
A166978.
Paste.
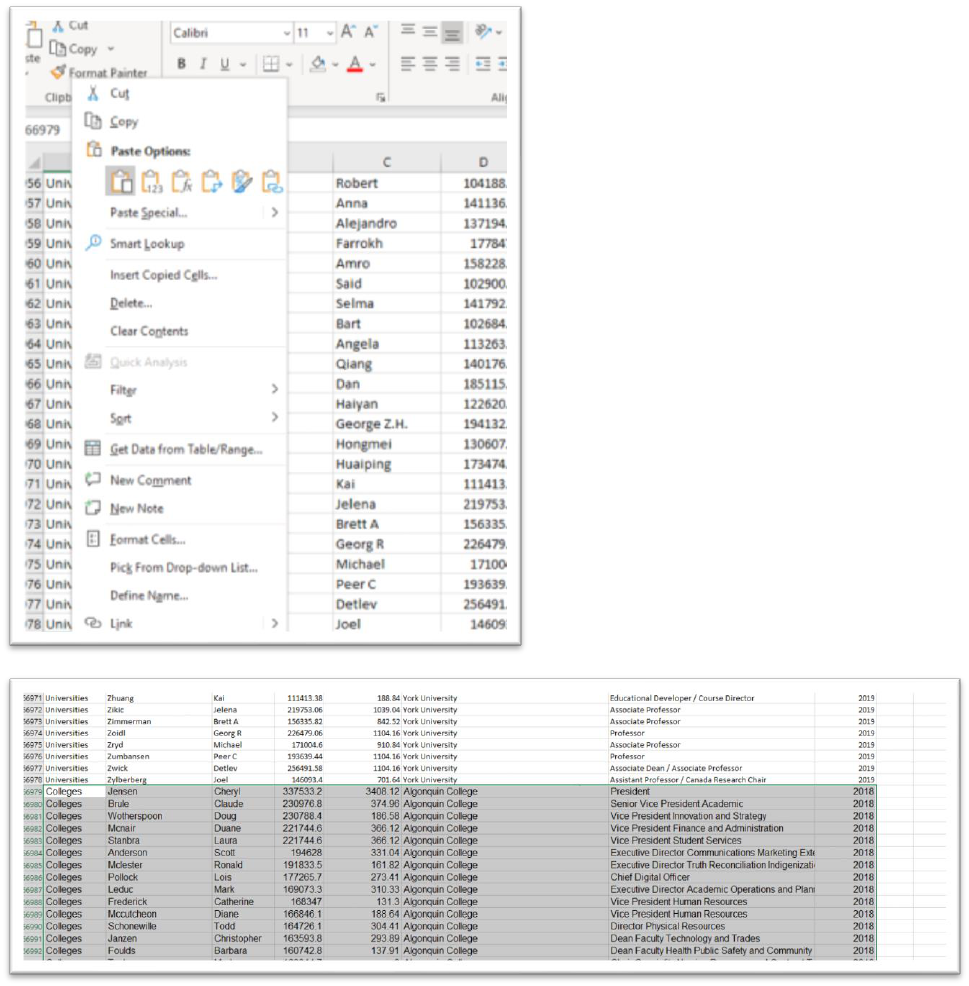
Scroll to the bottom of the 2018 data to repeat your verification.
Paste the 2017 table at the bottom of your merged (2019 and 2018 so
far) table using the same techniques.

You should have 450262 rows of salary data, almost half a million rows.
Save the table, calling the first worksheet something like
“Salaries_2017-19.” (NOTE: character limits mean we must be
economical when naming worksheets.) Also be sure to save as you go.
In the first two tutorials, you learned how to use sorting, filtering and
simple observation to interview the data to determine what you have
and what you don’t have. Take the time to do this before moving on to
the next step.
Use concatenate function to combine first and last name
Before we get this into a pivot table, we’ll use a concatenate function
to combine the last and first names in columns B and C into a new
column.

Insert a new column and call it something like “New Name”
We’ll use the concatenate operator “&” to combine the names with the
formula <<=B2&”, “&C2>>
Let’s translate this formula: Take B2 and combine it (&) with a comma
and space which we will put in between quotation marks (“, “) and

combine C2.
Hit enter.

Copy the formula to bottom of the column and adjust the column
length.
We’ll now create a column that adds the Salary Paid to Taxable Benefits
for a total salary.
Add a column to the right of Taxable Benefits and use the addition
operator “+” to obtain your total.

Copy the formula to the bottom of the column and format the numbers
as currency with no decimal places.
Good.
Now let’s create a new column which calculates the taxable benefit as a
percent of the total salary.
Insert a new column, and divide the taxable benefit by the total salary.
Reformat with as a percent with two decimal places.

It’s time to perform some analysis.
Filter the table for the year 2019. Sort the “Total Salary” column to see
who earned the most.
Then sort the “Taxable Benefit Percent” column in descending order.
You’ll be surprised at some of the results.
Before we even get into a pivot table, the new columns we’ve created
in this master table for the three years now convey a lot more
information that takes us beyone the typical, who earned the most in
2019. We can filter for universities, and professors to see which
institutions are doling out the most cash.
Simply filtering and sorting on the main table produces useful, and
perhaps newsworthy information.
Now you can use the pivot table to determine what’s happening at the
institutional level.
Create pivot table that compares institutions with the most
employees on the list and how those numbers compare year-to-year
Each row in our original table is an employee. The master table filtered
for 2019, contains 166,977 rows. Or put another way, 166,977 public-
sector employees who earned more than $100,000 that year.
Let’s create a pivot table to provide a closer look.

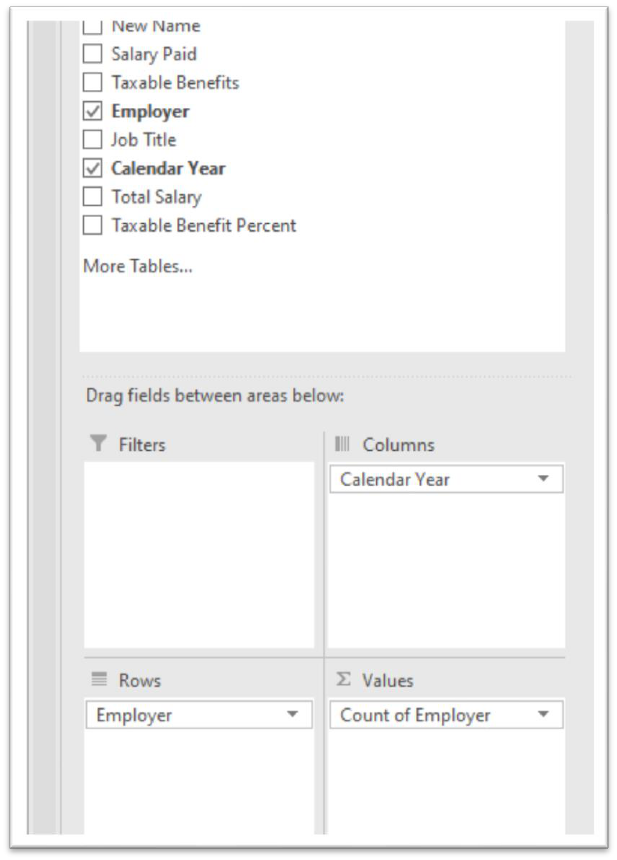
We can use the pivot table to group (Rows) the employees, count
(values) them, and subdivide (Columns) by year.

We can see that the 2019 number corresponds with the filtered
number in the main table.
It’s also clear that the number of employees on the list has been
increasing, an additional piece of information that pivot table has just
provided.
Now we can subdivide the table by employer (yes, we can count on the
employer field and group it in another section of the pivot table) and
filter it for the one we want.

Let’s do that for Humber.

Filter the Row Label for Humber.
The number of Humber employees on the list is growing. If you wanted
to see all the employees on list, click on any of the totals to see the
underlying data that will be presented in a separate, formatted
worksheet with drop-down menus.

Clear the Row Label Filter to return to the complete pivot table we’ve
just created.

Sort the Grand Total in descending order.
Sorting the Grand Total in descending order, we can easily see how
some of the top employers stack up. Ontario Power Generation, City of
Toronto, City of Toronto Police Service (interesting because of the
defund the police campaign), University of Toronto, etc. have all seen
an increase in numbers.
To compare more of the major employers and calculate the rate at
which the employees are growing, let’s use the paste special.
Use paste special to create a table for calculating percent difference
Copy the pivot table, go to a new worksheet and use the paste special
option.


Time for some clean-up. Delete first three rows.
Rename column A “Employer”
Delete the Grand Total column (E) and the Grand Total row (2473).

Create a new column “Percent Diff 2017-2019”.
We’ll use the formula for percent increase ( generically: =(NEW
NUMBER-OLD NUMBER)/OLD NUMBER)). We put the numbers in
brackets because Excel will perform that caculation before dividing.

Reformat the number as a percent with on decimal place and copy the
formula to the bottom of the row.


Dividing by zero produces an error message (#DIV/0!). Use the filter to
de-select the error message.
Sort the new column in descending order to see which employer had
the fastest growth rate.

Sort column E in descending order.

You can use the filters to compare some of the larger employers. Let’s
take Humber, Ryerson and Sheridan for instance.
Sheridan grew the fastest.
There are many ways to perform value-added analysis using many of
the techniques we have learned in this tutorial that take us beyond the
tried and true “who earned the most of all employers.”
The spreadsheet is a powerful tool, which forms the bedrock (for non-
programmers, at least) for data-driven stories.
