
Your certicate order gives you full
access to a selection of professionally
designed templates.
Choose the one that best ts your
needs, make edits and print the nal
design on your certicates.
Print Your Own Custom Certicates
To download a preformatted, customizable Microsoft
®
Word template, visit our website:
https://www.gallerycollection.com/certicate-templates.htm
Each template has editable text or you can download a blank template to make yours completely unique.
Browse the templates and click the link to download your choice. Save the template to your computer so you can
open and edit it.
You can change or add anything including: Text, Fonts, Font Size, Alignment, Spacing, Position, Color, Lines and
Images. Some templates contain graphic text at the top in a custom font which can be scaled, positioned, or
deleted, but not edited.
Important: If you unable to make changes to the template, click
“View” in the top menu and then “Edit Document”
in order to switch to editing mode.
Important: The margins in the template are set up to accommodate the space needed for the
pre-printed border. Changing the margins may cause the certicates to print incorrectly.
Add Logo or Image
You can insert a logo or image to any template in the same way you would add it to a regular Word document.
For templates with a logo placeholder, follow these steps:
1. Click the frame around the words “Place Your LOGO Here”and delete it
2. Highlight and delete the “Place Your LOGO Here” text
3. Insert your image or logo
4. If the text below the image/logo goes onto a second page you can:
a. Scale down the image/logo until the text moves back to the rst page.
b. Check there is not any blank space below the image/logo by hitting backspace.
c. Right click on the image/logo, select “Wrap Text” from the drop down and select
“In Front of Text”. This will let you scale without moving the text above and below it.
Seals
Templates are designed to leave enough room for Gallery Collection Embossed Foil Seals. Check the placement of
your seals before printing (See Testing Your Template instructions on next page).
Downloading a Template
Editing Your Template
This award is presented to
In celebration of
On this 4
th
day of July, 20XX
Type name & Title of Signatory
Certicate Template Printing Guide
T
HE GALLERY COLLECTION
®
Questions? Call 1-800-950-7064 or email [email protected]
When your template design is nished, we recommend printing a test on plain paper rst.
Centering Adjustments
Our templates are designed to be perfectly centered, but some printers may offset the design slightly.
To test and adjust the centering follow the steps below:
1. Print a test on blank paper and measure from each edge to be sure the art is centered.
You can also place the test sheet on top of a pre-printed border certicate and hold it up to a
light source to check the placement.
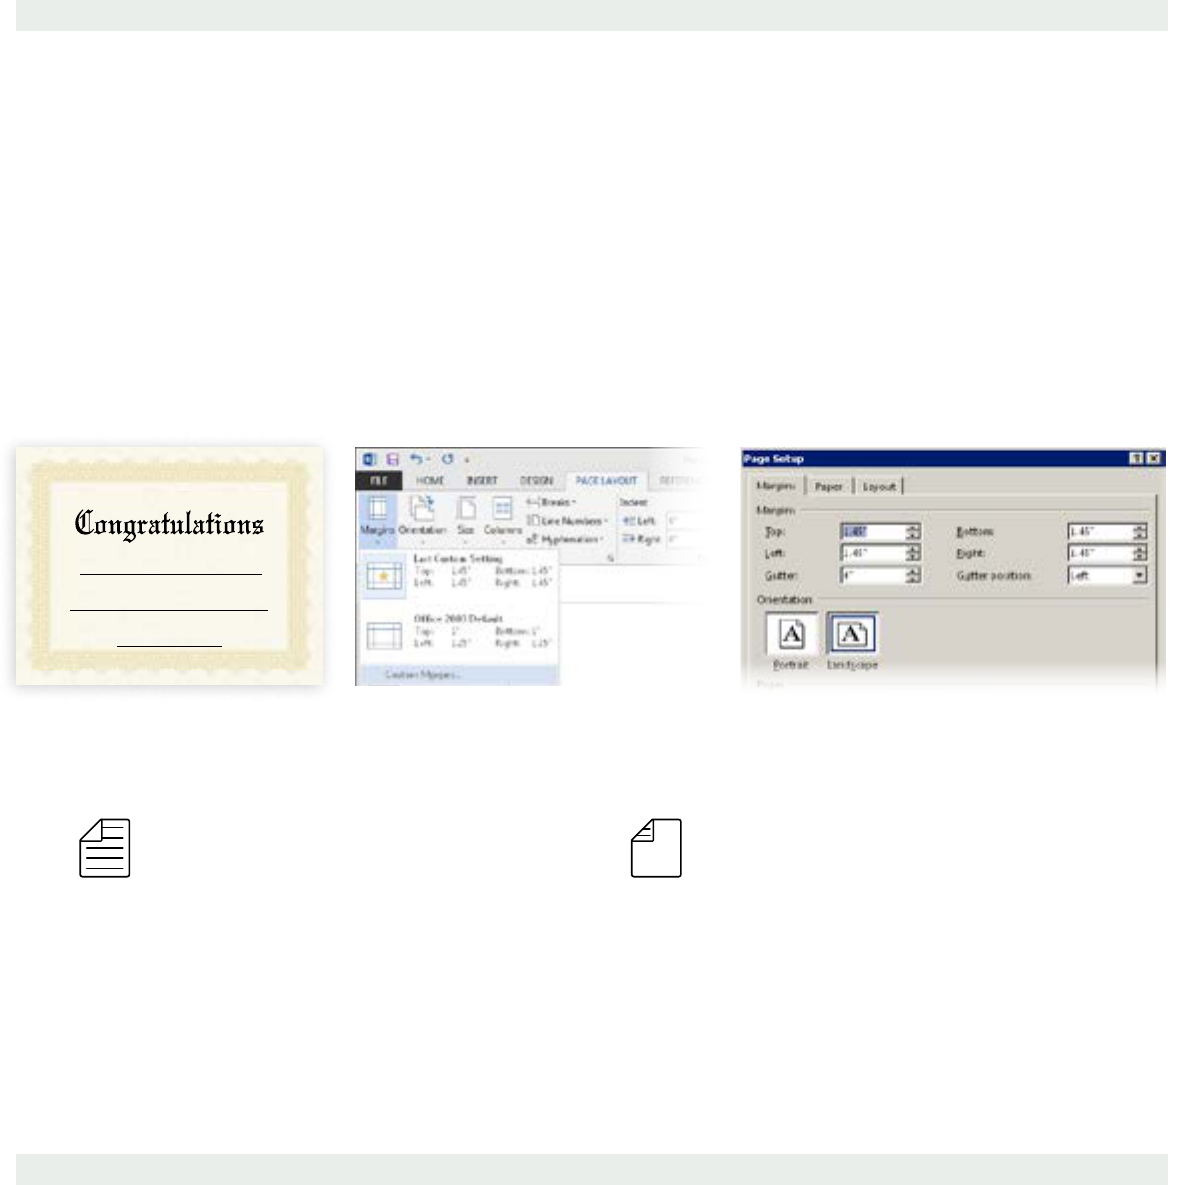
3. If the art is too close to one edge, you can increase that side’s margin to push it back to center*
a. Select “Page Layout” in the menu, then click on “Margins”, then “Custom Margins”
b. Add 0.03” to the edge the art is too close to and click OK
c. Print another test and remeasure. If the art is still not centered, repeat steps a-c
Printer Load Direction
The nal step before printing is to determine how the certicate blanks should be loaded in your printer.
1. Check your printer tray to see if it has an icon indicating which side should be loaded.
2. If there is no icon and you are unsure of how to load the paper, follow these steps:
a. Write and “X” on a blank piece of paper
b. Load the marked paper into your printer with the “X” facing up
c. Print your certicate template
d. If the “X” is on the same side as your certicate, your certicate paper should be loaded
with the border face up
e. If the “X” is on the opposite side of your certicate, your certicate paper should be loaded
with the border face down
Testing Your Template
This award is presented to
In celebration of
On this 4
th
day of July, 20XX
Type name & Title of Signatory
*This certicate has printed slightly too far down, so we would need to make the bottom margin larger to compensate.
Load paper with certicate border face up Load paper with certicate border face down
Once all of these tests are complete and you are satised with the nal result, you are ready to print.
We recommend, as a last and nal check, loading a single sheet of pre-printed certicate paper with the border
and printing one certicate before printing all of them.
If you would like The Gallery Collection to print your certicates for you, call customer service at the number below.
To order more certicates please visit www.GalleryCollection.com or call 1-800-950-7064
Final Printing
Certicate Template Printing Guide
T
HE GALLERY COLLECTION
®
Questions? Call 1-800-950-7064 or email [email protected]
